Published On: 19 April 2025
Acrylic nails may look flawless, but even the strongest sets can crack or lift at the worst times. Whether it’s a minor chip or a complete break, knowing how to handle it quickly can save your manicure and avoid further damage.
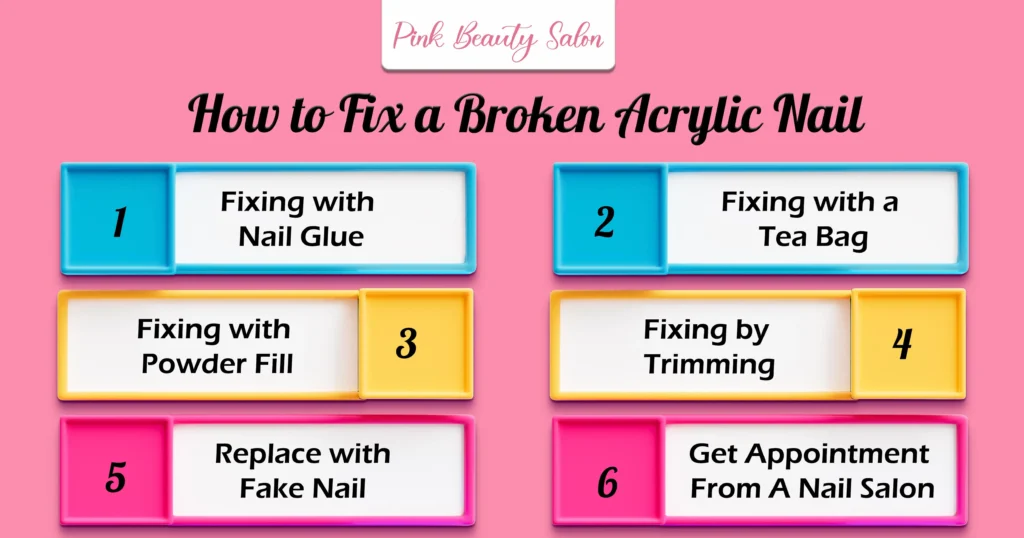
In this article, we’ll cover everything you need to know—from identifying the signs your acrylic nails are weakening, to the immediate actions you should take when a break occurs. We’ll also walk you through how to fix a broken acrylic nail, including:
- Using nail glue
- Using a tea bag
- Fixing with powder fill
- Fixing by trimming
- Replacing with a fake nail
- Getting an appointment at a nail salon
Finally, don’t miss our expert tips to prevent acrylic nail breakage, so you can keep your nails looking salon-fresh longer.
Signs Your Acrylic Nails Are Weakening
Weak acrylic nails often show warning signs before they break completely. One of the most common indicators is lifting, where the acrylic starts separating from the natural nail, creating gaps that can trap moisture and lead to bacterial growth.
Cracks or splits, especially near the edges, suggest structural weakness that could worsen with daily activities. Additionally, if acrylics feel overly flexible or brittle, they may be losing their strength due to improper application, exposure to chemicals, or prolonged wear.
Discoloration, such as yellow or greenish tints, often signals moisture buildup, which increases the risk of fungal infections. Identifying these early signs allows for prompt repair and proper maintenance, helping you prevent severe damage and extend the lifespan of your acrylic nails.
Immediate Actions to Take When an Acrylic Nail Breaks
Before fixing a broken acrylic nail, there are a few important things to keep in mind.
First, never forcefully pull or tear the broken part off, as this can make the damage worse.
Second, before starting any repair method, it’s essential to properly clean and disinfect the nail. This is important because bacteria can get trapped under the artificial nail.
According to a study by S A Hedderwick and his team, artificial fingernails are more likely to harbor pathogens—especially gram-negative bacilli and yeasts—than natural nails.
That’s why disinfecting the area is a crucial step before moving forward with any repair method. Once that’s done, you can proceed with the best-suited technique to fix a broken acrylic nail.
How to Fix a Broken Acrylic Nail
1. Fixing with Nail Glue
You can use nail glue to fix broken acrylic nails. According to a study, nail glue contains ethyl cyanoacrylate, hydroquinone, and organic sulfonic acid, which contribute to its strong adhesive properties and overall stability.
Due to its adhesive properties, nail glue is commonly used to reattach broken acrylic nails. To do this effectively, follow the steps given below.
- Apply a small amount of cyanoacrylate-based glue directly to the broken area.
- Press the broken pieces together and hold for a few seconds to ensure a secure bond.
- Allow the glue to dry completely before moving to the next step.
- Buff the surface gently to smooth out any uneven edges.
- Seal with a top coat for added protection and a polished finish.
Experts, like Emi Kudo recommend using nail glue for temporary repairs on acrylic nails. She suggests applying a coat of brush-on nail glue, letting it dry completely, and repeating the process if necessary.
This method provides immediate restoration and helps prevent further damage, though it’s considered a temporary fix.
2. Fixing with a Tea Bag
Tea bags can also be used to fix broken acrylic nails. Inside the tea bag, according to study there are fine fiber-type structures that help in holding the broken parts of the nail together.
These fibers assist in creating a natural-looking patch, making it suitable especially for thinner nails. Due to this composition, tea bags are used in fixing the broken acrylic nails.
Follow the below given steps to repair a broken acrylic nail using a Tea Bag:
- Cut a small piece of a tea bag to match the size of the crack.
- Place the tea bag piece over the crack, ensuring full coverage.
- Apply a layer of nail glue on top and let it dry completely.
- Buff the surface gently to smooth out any rough edges.
- Seal with a top coat for added durability and a seamless finish.
Stern recommends this method, often referred to as a DIY silk wrap, for longer-lasting repairs. The tea bag acts as a reinforcement, helping to hold the nail together and reduce further breakage.
3. Fixing with Powder Fill
For a long-lasting and durable repair, applying acrylic powder and monomer over the break is one of the strongest fixes available. Monomers are responsible for polymerization reactions.
According to Katri Suuronen and her team, acrylic nails are formed through a polymerization reaction between ethyl methacrylate (EMA) monomer and polymethyl methacrylate (PMMA) polymer, resulting in a strong and durable structure.
When monomers are applied, they initiate the polymerization reaction, which helps bond and rebuild the broken areas. This is why it’s considered one of the most effective steps in repairing broken acrylic nails.
Follow the below given steps to fix a broken acrylic with a powder fill:
- Prepare the nail by smoothing the cracked area with a fine buffer.
- Apply a small amount of acrylic liquid (monomer) to the broken section.
- Dip a brush into the acrylic powder and place it over the monomer to create a seamless bond.
- Allow it to harden completely before shaping and buffing the surface.
- Finish with a top coat for added protection and a polished look.
Fixing broken acrylic nails using a powder fill is an effective and widely practiced method. This technique has gained popularity for both at-home nail repairs and professional nail care, highlighting acrylic powder as an essential tool for nail maintenance.
This method not only restores the nail’s appearance but also strengthens weak spots, helping to prevent further cracking. Since it rebuilds the damaged area rather than simply covering it, powder fills are ideal for large cracks or deep breaks that need additional structural support.
4. Fixing by Trimming
Trimming is a practical method to fix a broken acrylic nail, especially when the break is deep or acrylic cannot be repaired with glue and powder. This method reduces stress on weakened areas, minimizing the risk of further breakage.
Usually, long nails break more easily. Trimming nails makes them shorter and less likely to break later. According to a study by Medical News Today, short and clean nails also help prevent the growth of bacteria.
That’s why trimming is essential fix and here are steps for safe trimming & recovery:
- Trim the broken acrylic nail to remove damaged edges.
- File the edges smoothly to prevent snagging and additional stress.
- Clean the area with an antiseptic solution to reduce infection risk.
- Apply cuticle oil or moisturizer to maintain hydration and strengthen regrowth.
- Avoid putting pressure on the nail (e.g., typing, lifting) until it fully recovers.
This trimming method is ideal when the break runs deep, as it preserves the rest of the acrylic.
5. Replace with Fake Nail
Alternatively, you can also replace the fake nail instead of fixing it. This is a great option if you don’t have much time or don’t have the materials required for a proper repair. If you already have an extra acrylic nail available, there’s no need to struggle with fixing the broken one—you can simply replace it.
In many cases, a well-placed replacement nail can last even longer than a repaired one. Just follow a few simple steps to apply the acrylic nail properly, and you’re good to go!
6. Get Appointment From A Nail Salon
Even if you can fix or apply a new acrylic nail yourself, you always have the option to visit a nail salon and let the professionals handle it. Try to find a reputable nail salon in your local area—you can search online or ask friends for recommendations.
In many cities, including Dubai, there are salons that offer at-home nail services. So if you’re in Dubai, you can easily book a home acrylic nail service with Pink Beauty Salon, known for its affordable pricing and high-quality service.
Best Tips To Prevent Acrylic Nail Breakage
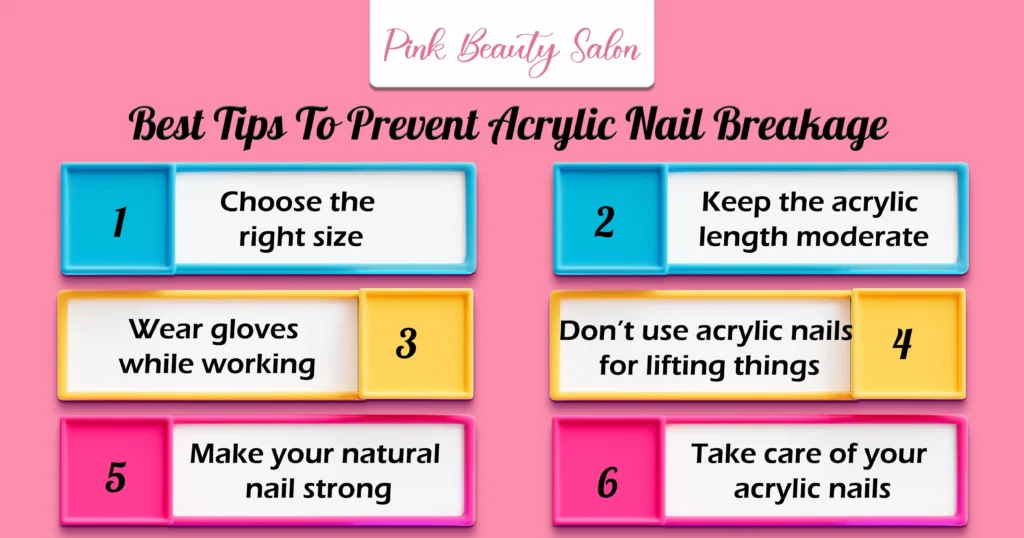
Preventing acrylic nail breakage is key to maintaining a long-lasting manicure. Follow these simple tips to ensure your nails stay strong and beautiful:
- Choose the right size.
- Keep the acrylic length moderate.
- Wear gloves while working.
- Don’t use acrylic nails for lifting things.
- Make your natural nail strong.
- Take care of your acrylic nails.
Choose The Right Size
Selecting the correct nail size and shape isn’t just about looks—it’s essential for durability and preventing breakage. When press-on or acrylic nails fit properly, they sit securely on the natural nail without overlapping the skin, which helps avoid lifting or snapping.
If an exact size isn’t available, it’s better to choose a slightly larger nail and file it down to fit. Nails that are too small don’t offer enough coverage, making them more likely to pop off or break easily.
The shape you choose also plays a major role in nail strength. Oval and almond shapes are ideal for distributing pressure evenly.
Taking the time to match both size and shape ensures your nails not only look great but also last longer without damage—giving you that perfect, salon-quality manicure.
Keep the Acrylic Length Moderate
In addition to choosing the right size and shape, it’s also important to keep the nail length moderate. All nails should ideally be of a standard, balanced length. If acrylic nails are too long, they can interfere with daily tasks and are more likely to bump into objects—making them prone to breaking.
That’s why it’s essential to maintain a manageable length that suits your lifestyle and daily routine. This small step goes a long way in preventing damage and ensuring your nails last longer.
Wear Gloves While Working
To prevent acrylic nail breakage, wear gloves while working. Water weakens the adhesive, leading to lifting and damage, especially when exposed to hot water, which can reduce acrylic hardness by 12.9%, claimed by Hugh Devlin & Prashant Kaushik.
This softens the structure, causing brittleness and white spots. Moisture also affects natural nails underneath, making them more prone to breaking. Wearing waterproof gloves during chores and avoiding prolonged soaking helps protect the nails.
Always dry your hands and nails thoroughly to maintain strength and ensure long-lasting results.
Don’t Use Acrylic Nails for Lifting Things
To prevent acrylic nail breakage, avoid using them to pick or pry objects. This puts pressure on the nail, causing lifting or structural damage. According to Research It can also harm the hyponychium, increasing the risk of infection.
Using your acrylic nails as tools weakens them over time—so protect their strength by handling tasks with care.
Make Foundation ( Natural Nail ) Strong
The foundation of acrylic nail longevity lies in natural nail strength. Biotin supplementation and nail hardeners reinforce keratin structure, promoting healthier growth and improving the resilience of nails under acrylics.
A study found that biotin supplementation increased nail thickness by 25% in patients with brittle nails, with 63% of participants reporting visible improvement in nail strength and quality. While results varied among individuals, these findings suggest that biotin plays a role in enhancing nail stability and reducing fragility
Take Care of Your Acrylic Nails
To prevent acrylic nail breakage, proper care is essential. Taking care of your nails is always better than dealing with repairs or damage later. With a few simple steps, you can easily take care of your acrylic nails. By following a regular care routine, you’ll keep them looking flawless and long-lasting.
Conclusion
In conclusion, fixing a broken acrylic nail doesn’t have to be a hassle. With the right tools and techniques, you can quickly restore your nails to their original beauty.
Whether you choose DIY methods like glue or tea bags, or opt for professional help, taking prompt action will prevent further damage and keep your nails looking flawless. Follow the tips we’ve shared, and you’ll enjoy strong, durable acrylic nails for longer.