Published On: 11 Nov 2025
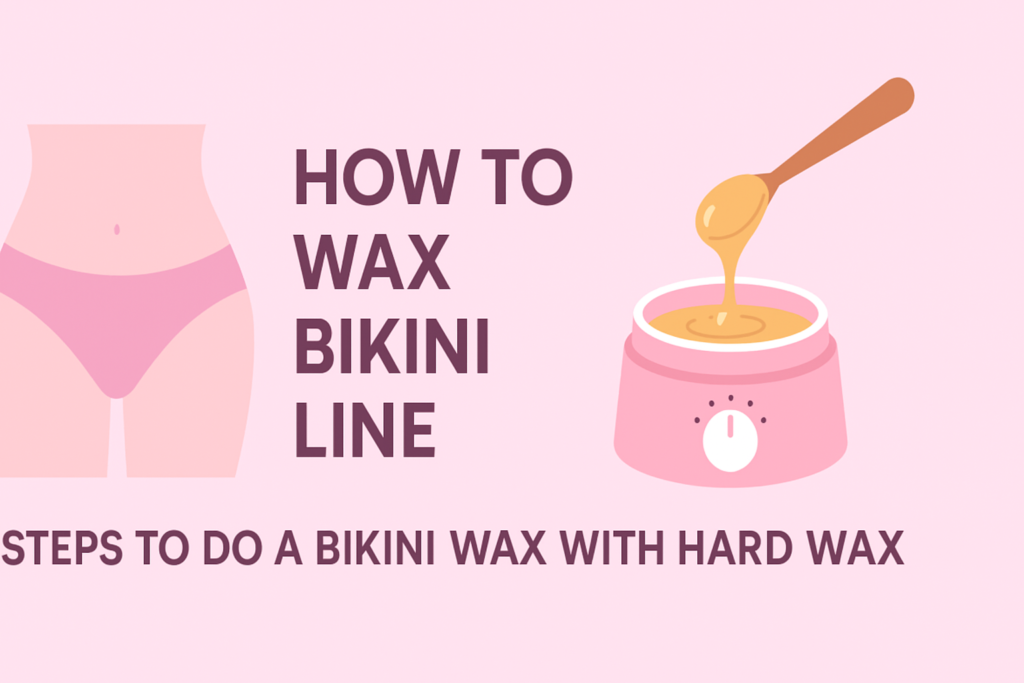
Waxing your bikini line at home can feel intimidating, but the right technique makes it safer, cleaner, and more comfortable. This guide focuses only on the bikini area and walks you through each step using hard wax.
You will learn how to prepare the bikini line properly before waxing. You will see how to wash and dry the area, apply powder, and choose the right wax. You will understand how to heat hard wax, apply it to the bikini line, and remove it correctly. You will also learn how to clean the skin afterward and moisturize for faster recovery.
Finally, we highlight why bikini wax aftercare matters and link to detailed guides on preparation, aftercare, and the benefits of bikini waxing.
Bikini Wax Preparation
Bikini wax preparation means getting your bikini line and skin ready before the actual waxing starts. It includes steps like growing your hair to the right length, exfoliating gently, keeping the area clean, and managing pain or sensitivity ahead of time.
Good preparation is important because it helps the wax grip better, reduces discomfort, prevents irritation, and leads to cleaner, longer-lasting results. We’ve explained all these prep steps in detail in our separate guide on how to prepare for a bikini wax—read that for in-depth, expert-backed advice.
1. Wash and Dry Your Bikini Area
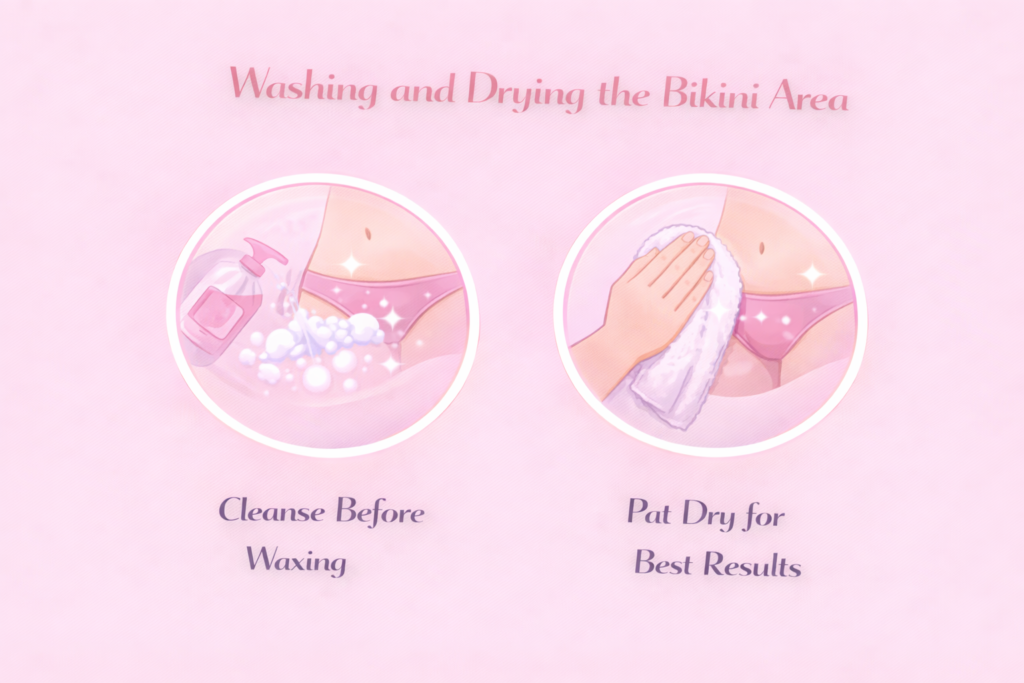
If you are preparing for a bikini wax, the first step is to cleanse the bikini area thoroughly. Proper cleansing helps lower the risk of infection and makes the waxing process more effective. Moist skin prevents the wax from gripping the hair correctly, which can lead to incomplete hair removal or extra tugging.
Wash the area gently, but avoid hot water or steam because they soften the skin and increase sensitivity during waxing. After washing, pat the skin completely dry with a clean, fresh towel. Use a mild, fragrance-free cleanser to remove sweat, natural oils, dead skin cells, and leftover skincare products that might stop the wax from sticking properly.
Do not apply creams, lotions, or oils before waxing unless the specific product instructions recommend it. According to the American Academy of Dermatology, waxing works best on skin that is completely dry, free of oil, and free of water, because this allows the wax to adhere to the hair more effectively and gives the cleanest results.
2. Apply Powder
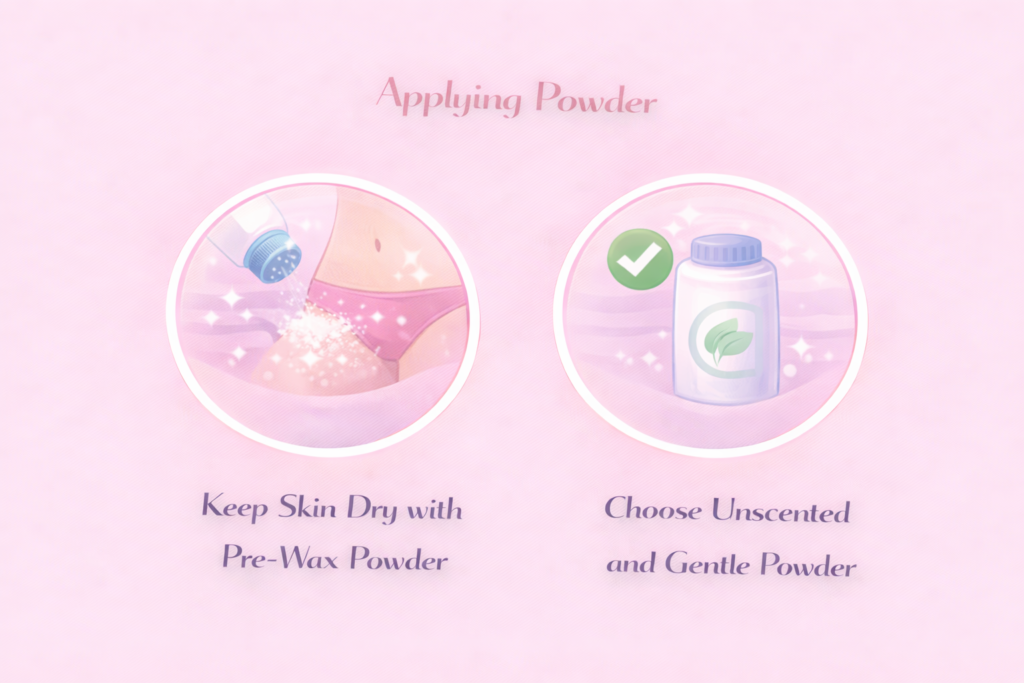
Before starting a bikini wax, lightly dusting powder over the bikini line may seem like a small step, but it has a big impact on results. The powder creates a thin barrier between the bikini-area skin and the wax. This helps the wax grip the hair along the sides of the bikini bottom, the top of the pubic bone, and the upper inner thighs instead of clinging to moisture or skin.
As a result, hair removal tends to feel smoother, less painful, and less irritating. Most people use baby powder made from talc or cornstarch for this step. The main job of the powder is to keep the bikini area dry, which is especially helpful if you sweat easily or live in a hot, humid climate.
Studies show that powders such as baby powder or cornstarch absorb extra oil and moisture, which helps the wax adhere better so the hair comes off more cleanly. Baby powder is easy to find and affordable, but it is not always as effective as pre-wax powders created specifically for hair removal.
Professional pre-wax powders often contain added ingredients like zinc oxide or vitamin E that give the delicate bikini-line skin extra protection and support better waxing performance. Even though baby powder is designed to be gentle, some people still experience irritation or sensitivity, especially with scented formulas.
To reduce this risk, it is best to choose an unscented powder. It is also smart to test the powder on a small patch of bikini-line skin before using it over the entire area. When you apply the right powder correctly, you can reduce friction, improve the wax grip on bikini-line hair, and enjoy a cleaner, more comfortable bikini waxing experience.
3. Choose The Wax Type
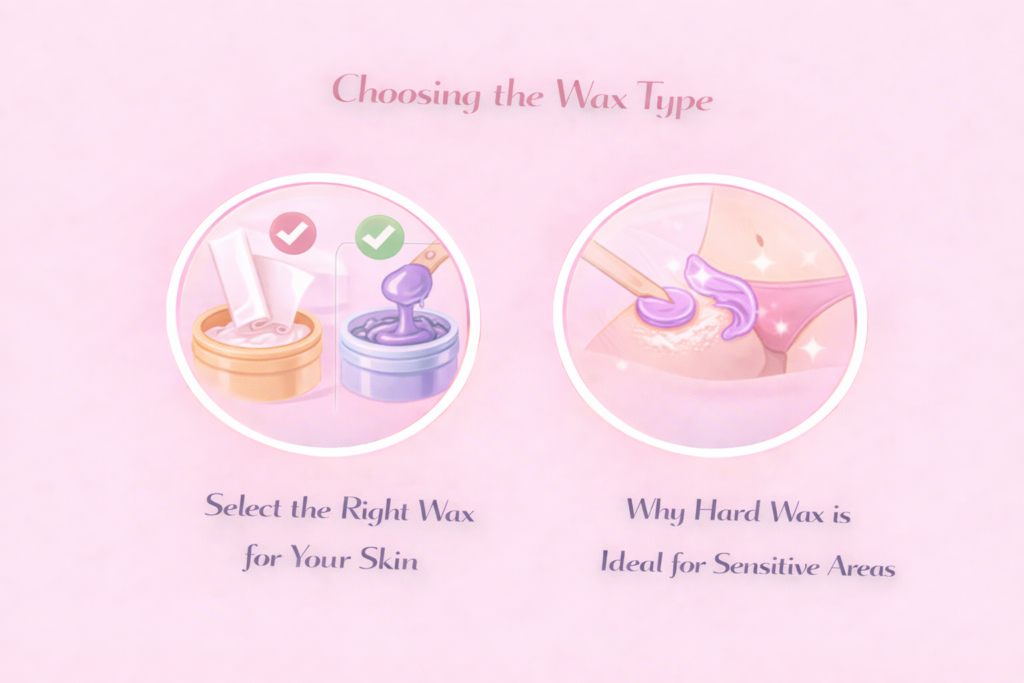
When you are preparing for an at-home bikini wax, one of the most important choices is selecting the right type of wax. The wax you use strongly affects how smooth your bikini line looks, how comfortable the process feels, and how effective the hair removal will be. There are several types of wax for bikini waxing, and each works differently depending on your skin sensitivity, hair thickness, and personal comfort level.
We have already explained each wax type in detail, including their pros and cons, in our article on Types of Wax for Bikini Waxing.
In this step-by-step bikini wax guide, we will use hard wax, because according to the BCIT Environmental Public Health Journal, hard wax is more suitable for delicate and fragile skin since it can grip the hair effectively while lifting less on the skin.
4. Prepare The Hard Wax
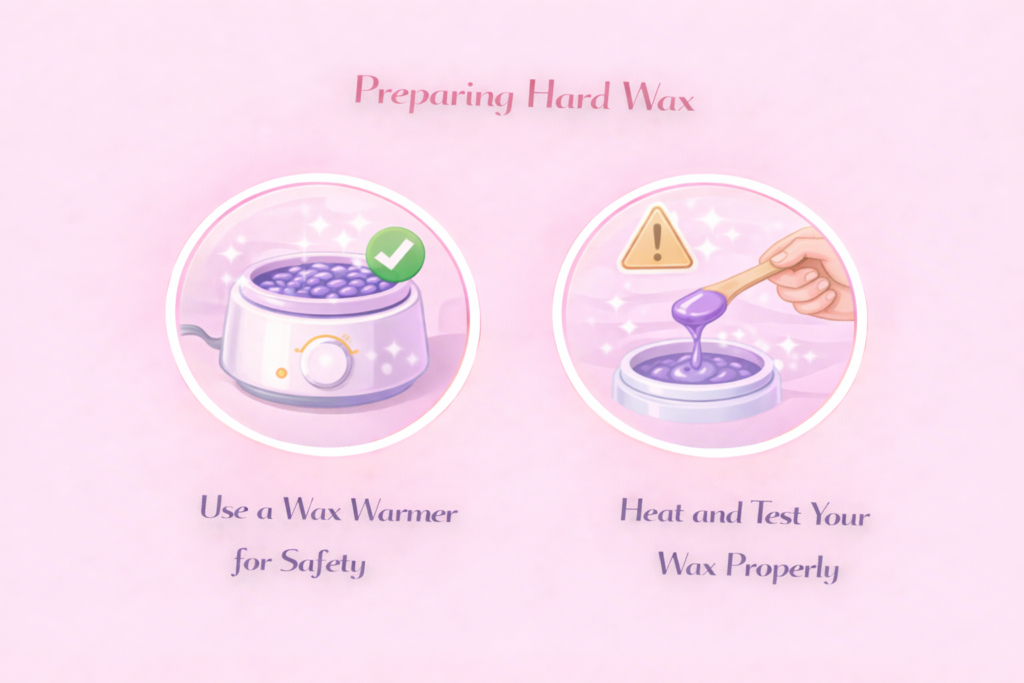
To use hard wax for your bikini line, preparing it at the correct temperature is essential. Always use a wax warmer instead of a microwave as research shows that microwave-heated wax can reach dangerously high temperatures and cause serious burns, so it is best not to rely on that method.
Stovetop heating is also risky because the wax can easily overheat and lose its ability to grab the hair effectively. For a safer and more controlled bikini waxing experience, stick with a professional-style wax warmer and take your time preparing the wax correctly.
Heat the hard wax until it turns smooth and has a thick, honey-like texture. Aim for a temperature in the range of about 54–65 °C (around 130 °F), which is warm enough to melt the wax without making it runny or harsh on the skin.
Stir the wax regularly while it warms so the heat spreads evenly through the pot. This helps prevent hot spots that can burn the delicate bikini area or make the wax too uneven to grip hair properly.
Before you bring the wax near your bikini line, always test a small amount on the inside of your wrist to check that it feels comfortably warm, not hot.
5. Apply the Hard Wax
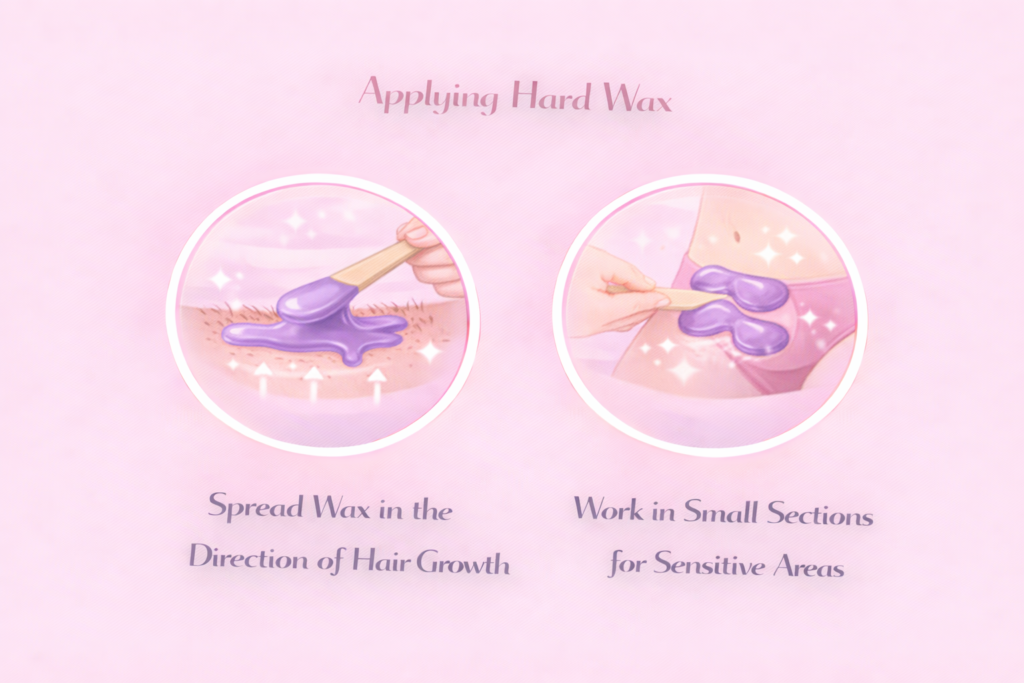
When it is time to apply hard wax to the bikini line, use a wooden spatula or applicator stick. Spread a thick, even layer of wax in the same direction that the hair grows along the sides of the bikini bottom, the top of the pubic bone, and the upper inner thighs.
Avoid applying the wax too thin or too hot, because both mistakes can lead to broken hairs, burns, or poor hair removal results. Hard wax works best when it has the correct thickness and the skin underneath is stretched firmly, which helps reduce pain and protects the delicate bikini-area skin from unnecessary trauma.
If you are new to waxing, or you are working on very sensitive spots near the crease where the leg meets the bikini line, always work in small sections. As you spread the wax, make the edges slightly thicker so you have a firm lip to hold when it is time to remove it. Allow the wax to sit for about 20 to 30 seconds until it hardens.
You can check the consistency by gently tapping the edge with your fingernail; it should feel firm on the surface but still a little flexible.
6. Remove the Hard Wax
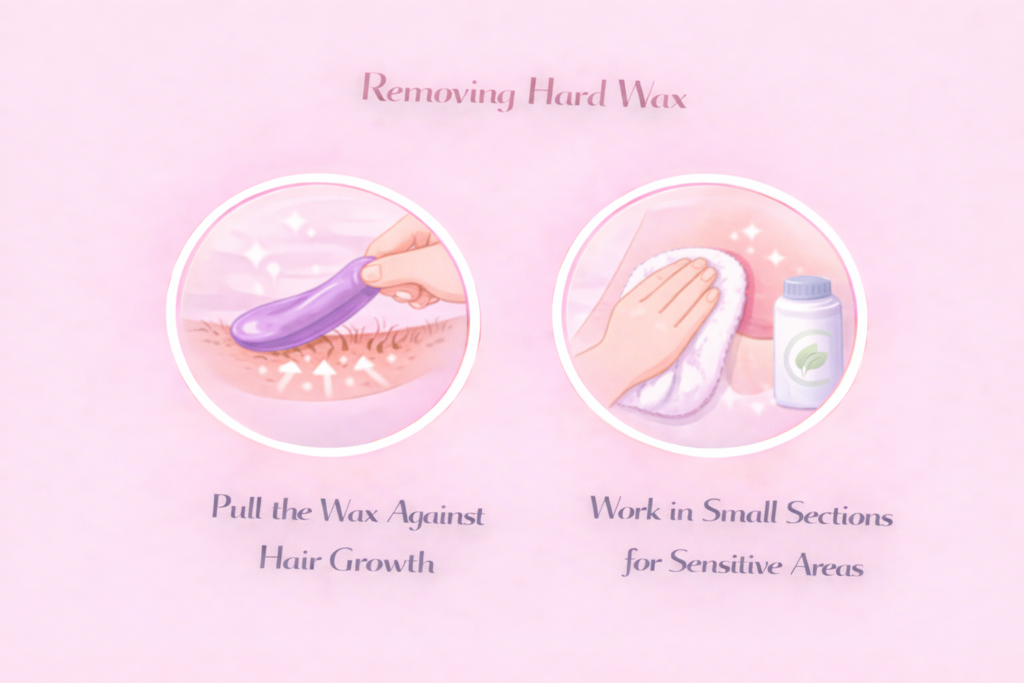
Once the hard wax on your bikini line has cooled and hardened, it’s time to remove it. Begin by holding the skin around the bikini area tight with one hand; this step is essential to avoid pulling or bruising the delicate skin near the groin and along the sides of the bikini bottom.
With your other hand, lift the edge of the hardened wax and pull it off quickly and firmly against the direction of hair growth in one smooth, controlled motion. That quick, confident pull helps remove the hair from the root while minimizing breakage.
Never hesitate or pull slowly, as doing so increases pain and can leave short hairs behind. Hard wax delivers the best results when it’s removed swiftly in the opposite direction of growth. If you’re new to bikini waxing, start by working in smaller sections for better precision and comfort.
As soon as you pull off the wax strip, press your hand gently over the freshly waxed area. This simple pressure helps soothe the sting, calm the skin, and make the process more comfortable overall.
7. Repeat The Process Until All Hairs Are Removed
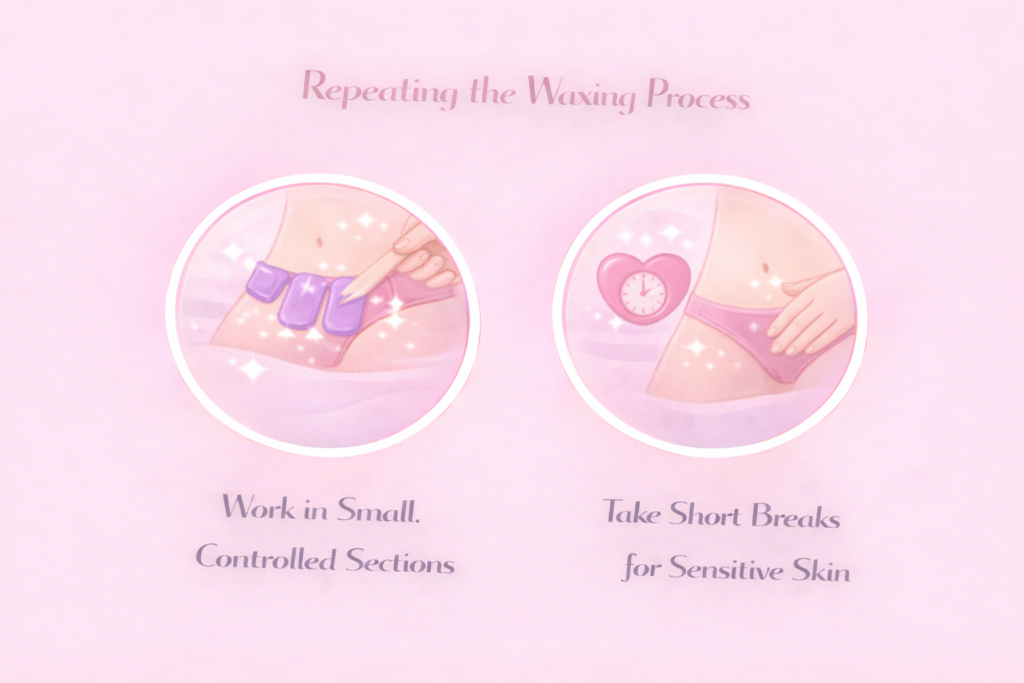
Once you finish one part of the bikini line, repeat the same process in small, controlled sections until all visible unwanted hair is removed. Stay consistent with your technique each time: apply the wax in the same way, keep the skin along the bikini bottom and groin stretched taut, and always pull in the correct direction.
This consistency helps you get even results and reduces irritation. Dermatologists advise taking short breaks if the skin around the bikini line starts to feel overly sensitive or you notice increasing redness.
Do not rush, and avoid overlapping wax over the same strip of skin, because overlapping can lead to damaged skin, bruising, burns, or ingrown hairs. Allowing the bikini area to rest briefly between strips makes the whole process more comfortable and less inflamed.
Work section by section until you have covered all the target bikini areas, including the sides of the bikini bottom, the crease where the thighs meet the torso, and the top of the pubic bone where hair might peek above swimwear.
A handheld mirror can be very helpful for checking angles and reaching tricky spots safely. Never wax the exact same patch of bikini-line skin more than once in a single session, as this protects the area from over-irritation and helps it heal more smoothly.
8. Clean Your Skin
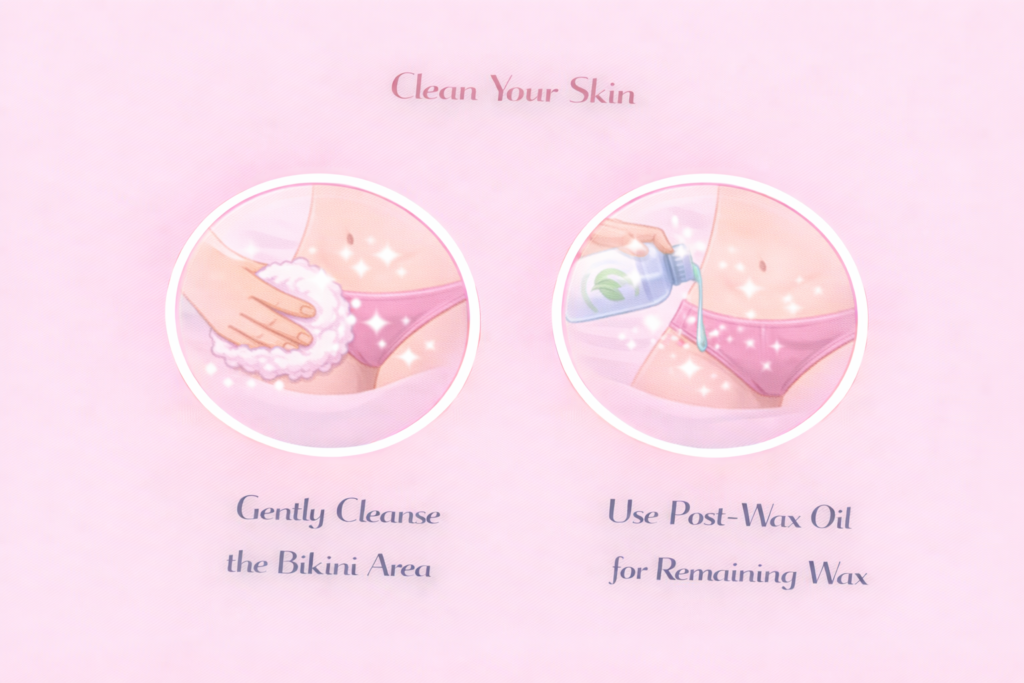
Once you have finished removing all the wax and hair from your bikini line, gently cleanse the area right away. This helps wash away any residue or skin debris so the freshly waxed bikini area can start to calm down. Use a clean, damp cloth or lightly rinse the bikini line with cool to lukewarm water.
Just avoid hot water and do not scrub, as both can irritate freshly waxed bikini skin. If you used hard wax on the bikini line, you may notice a few tiny bits of wax still clinging to the skin. It can be tempting to pick them off with your fingernails, but doing that can scratch or inflame the delicate groin area.
Instead, apply a small amount of post-wax oil and gently massage it over the bikini line. The oil helps dissolve any remaining wax fragments without damaging the skin, leaving the bikini area clean, smooth, and ready for soothing aftercare.
9. Apply Moisturizer
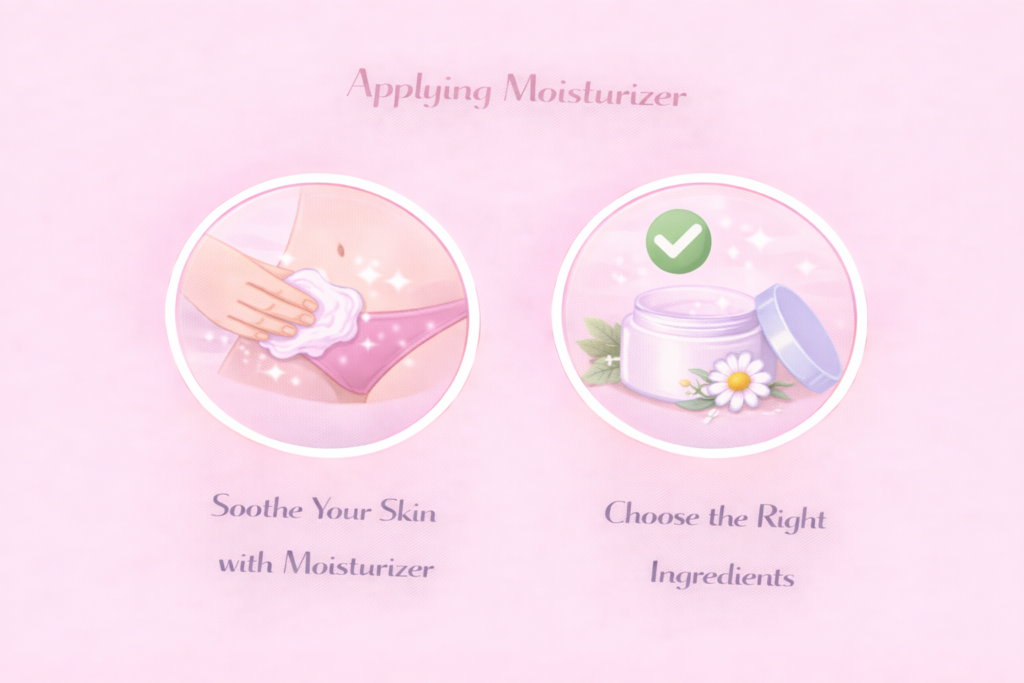
After a bikini wax, your skin is not just hair-free—it is also more vulnerable because the natural skin barrier has been temporarily disturbed. That is why applying a soothing, fragrance-free moisturizer to the bikini area is one of the most important aftercare steps.
Choose a cream or gel that contains calming, skin-repairing ingredients such as aloe vera, panthenol, ceramides, niacinamide, or Centella asiatica. These ingredients help reduce inflammation along the bikini line, ease redness around the sides of the bikini bottom and top of the pubic bone, and support faster recovery.
Dermatologist Dr. Brendan Camp recommends moisturizers that are rich in ceramides, because they restore hydration and lower the risk of post-wax irritation or flaking in the delicate groin area. Avoid lotions that contain alcohol, artificial fragrance, or essential oils, as these can sting or trigger sensitivity on freshly waxed bikini skin.
For best results, apply your moisturizer within 10–15 minutes after finishing the wax and cleansing the area. Then continue to use it twice a day for the next 48 hours. This simple routine keeps the bikini line soothed, supported, and feeling soft and smooth.
Bikini Wax After Care
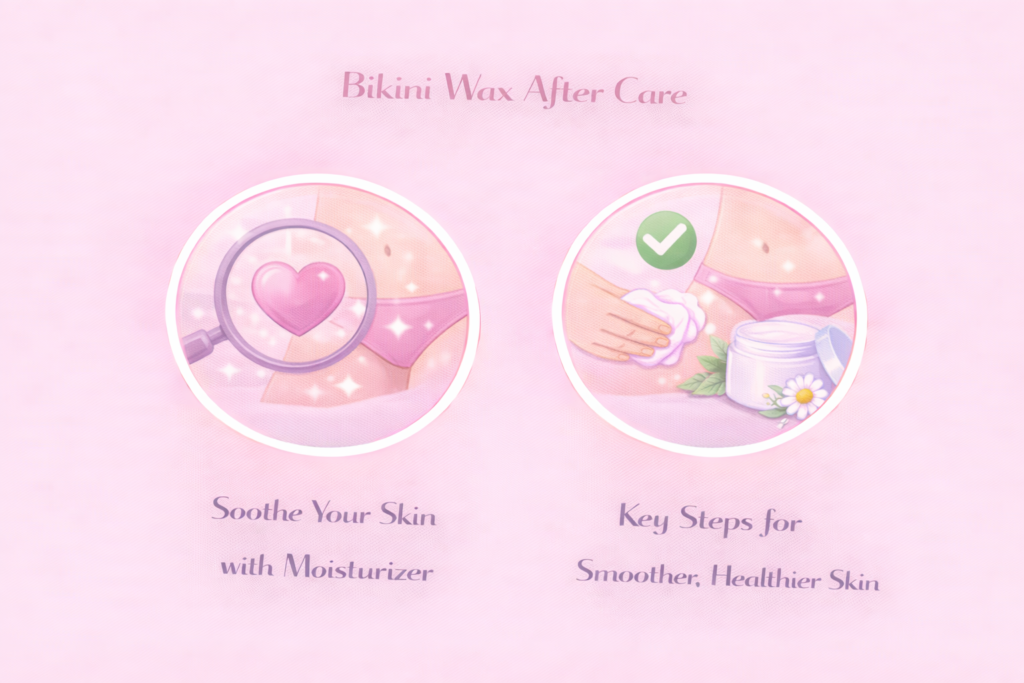
Bikini wax aftercare is essential because waxing doesn’t just remove hair—it also temporarily stresses the skin barrier along the bikini line. Without proper care, you’re more likely to experience redness, bumps, ingrown hairs, itching, or irritation from sweat and friction against underwear or swimwear.
Gentle aftercare helps calm the skin, reduces inflammation, supports healing, and keeps results smoother for longer. We’ve covered all the key post-wax steps—soothing, cleansing, exfoliating, and what to avoid—in our separate article on Bikini Wax Aftercare. Read that to get in-depth, practical guidance.
What You’ll Gain From Your Bikini Wax
Now that you know how to do a bikini wax step by step, it’s just as important to understand why many people choose this method over shaving or creams. A bikini wax can offer smoother skin, slower regrowth, less stubble, and a cleaner look in swimwear or underwear.
It may also boost comfort and body confidence when done regularly with proper care. For a complete breakdown of these advantages, visit our dedicated guide on the Benefits of Bikini Wax and explore every benefit in detail.
Conclusion
In summary, a bikini wax with hard wax can be safe, effective, and surprisingly manageable when you follow each step carefully. From preparing your skin and heating the wax correctly to applying it in small sections and practicing gentle aftercare, every stage plays a role in smoother results and less irritation.
Take your time, listen to your skin, and never rush the process. With consistency, each bikini wax becomes easier, more comfortable, and longer lasting for smoother, confident swimwear days.