Published On: 06 Jan 2026
Leg waxing gives smooth, long-lasting results—but only if you prepare your skin the right way. Many people focus only on the waxing itself and ignore the steps that come before it, which often leads to pain, irritation, or uneven results.
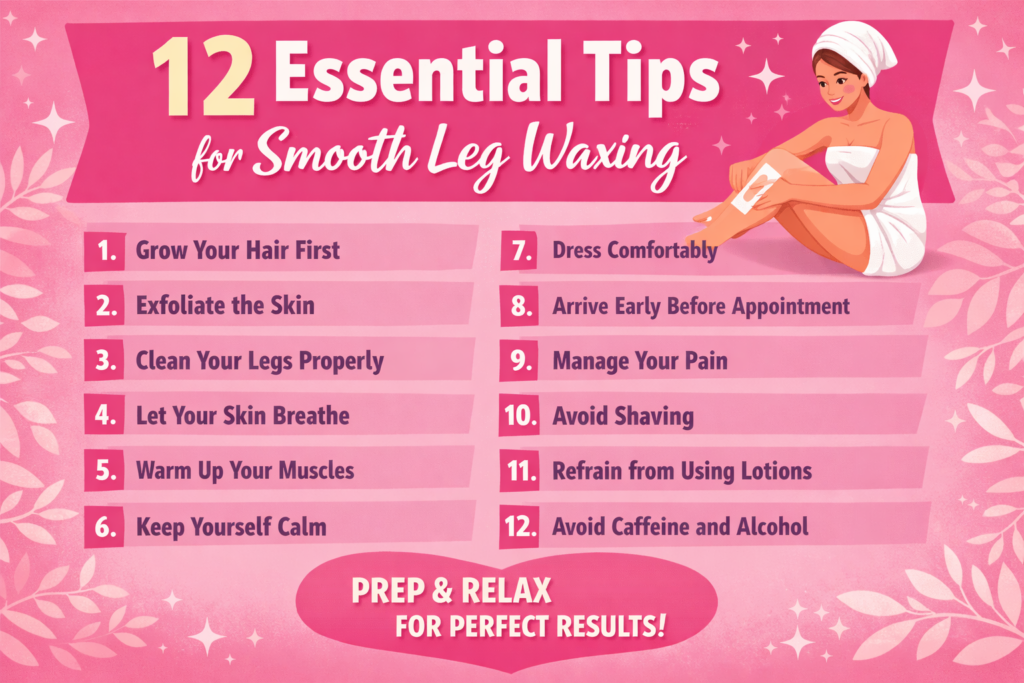
In this guide, we’ve covered everything you need to know about proper leg waxing preparation. From getting the right hair length and exfoliating correctly to managing pain, avoiding common mistakes, and keeping your skin calm, each step plays an important role. These tips are based on expert advice, research-backed practices, and real-world experience.
If you want smoother legs, fewer ingrown hairs, and a more comfortable waxing experience, this article will walk you through exactly what to do—and what to avoid—before your leg waxing session.
What is Leg Waxing
Leg waxing is one of the most popular ways to remove unwanted hair from the legs, especially if you want smooth results that last longer than shaving. Instead of cutting hair at the surface, waxing pulls it out from the root, which means slower regrowth and softer hair over time. Sounds simple, right?
But once you start looking into it, questions naturally come up—types of leg waxing, pain level, results, and what to expect.
That’s exactly why we’ve written a detailed article on what leg waxing is, where everything is explained clearly and step by step. If you want the full picture, go read that guide—it’ll answer all your questions properly.
1. Grow Your Hair First
Before leg waxing, one of the most important—and often ignored—steps is getting the hair length right. This isn’t guesswork; there’s actual science behind it. For leg waxing to work properly, hair should be around ¼ inch to ¾ inch long. If it’s shorter, the wax won’t grip the hair well. If it’s too long, the pull becomes stronger, making the process more uncomfortable and less effective.
Many people think longer hair means better results, but that’s a common misunderstanding. Very short hair tends to break instead of coming out from the root, while overly long hair pulls harder and can irritate the skin.
If your leg hair is longer than ideal, don’t panic—just trim it slightly using clean scissors. Avoid razors or clippers, as they affect how wax adheres. According to the American Academy of Dermatology, maintaining the right hair length helps the wax grip better and reduces irritation and uneven results. This small step truly makes a big difference.
2. Exfoliate the Skin
If you skip exfoliation 24 to 48 hours before leg waxing, you’re honestly making things harder for yourself. Exfoliating before your waxing session helps remove dead skin cells, clear clogged pores, and release trapped hairs.
All of this creates a clean, smooth surface so the wax can grip the hair properly. The result? Fewer missed patches, smoother legs for longer, and a lower chance of ingrown hairs.
A lot of people blame uneven leg waxing results on the service, but poor skin prep is often the real reason. Exfoliation doesn’t mean scrubbing aggressively. A soft washcloth, gentle scrub, or mild chemical exfoliant—whatever suits your skin—is enough.
Dermatologists point out that pre-wax exfoliation removes excess oil, product buildup, and rough skin that can interfere with waxing. If you want smooth, effective, and irritation-free leg waxing, this step is non-negotiable.
How to Exfoliate Legs Before Waxing
To exfoliate your legs before waxing, do it 24–48 hours in advance so the skin has time to settle. Exfoliation removes dead skin cells, unclogs pores, and frees trapped hairs, allowing the wax to grip hair more effectively.
You can use physical exfoliants like a soft washcloth, exfoliating glove, or gentle body scrub—use light pressure and circular motions, not aggressive scrubbing. Chemical exfoliants, such as products containing lactic acid, glycolic acid, or salicylic acid, also work well by dissolving dead skin without friction.
Avoid exfoliating on the same day as waxing, and always rinse thoroughly and moisturize afterward to keep the skin balanced and calm.
3. Clean Your Legs Properly
You’d be surprised how many people skip this simple step before leg waxing—properly cleaning the skin. Just before your appointment, gently wash your legs with lukewarm water and a mild, fragrance-free cleanser. No harsh scrubs, no fancy products. The goal is simple: remove sweat, oil, and leftover lotion that can interfere with waxing.
Here’s why this matters: wax doesn’t stick well to oily or dirty skin. When the surface isn’t clean, the wax can slide instead of gripping the hair, leading to uneven results or missed patches. Clean skin also lowers the chances of irritation, bumps, or post-wax issues.
According to the American Academy of Dermatology, washing and thoroughly drying the skin before waxing helps the wax grip better and improves overall hygiene. It’s a small step, but it can make a noticeable difference in your leg waxing results.
4. Let Your Skin Breathe
Wearing tight jeans or squeezing in a workout right before leg waxing might seem harmless—but it can actually work against you. Heat, sweat, and friction can make the skin on your legs more sensitive, which increases discomfort when the wax is applied. The result? Extra redness, irritation, and a sting that lasts longer than it should.
A few hours before your leg waxing session, give your skin some breathing space. Skip intense workouts, avoid tight clothing, and choose loose, breathable fabrics instead. This helps keep the skin cool and dry, allowing hair follicles to stay calm so the wax can grip better.
Prepping for leg waxing isn’t just about what you do—it’s also about what you avoid. Less heat and friction mean smoother results and a more comfortable waxing experience.
5. Warm Up Your Muscles
Here’s a simple prep tip many people miss before leg waxing: take a lukewarm shower about 30 minutes before your appointment. Not hot, not cold—just comfortably warm. This helps soften the skin, gently open the pores, and relax the hair follicles, which makes leg waxing feel smoother and less uncomfortable.
This isn’t just a random tip. Experts and professional waxing brands like Biosoft recommend it because warm, relaxed skin allows the wax to grip the hair better without pulling too hard on the surface. Fewer harsh tugs mean cleaner removal and better results.
So instead of rushing straight into your waxing session, take a few minutes for a warm shower. It’s a small step, but it can make your leg waxing experience noticeably easier, quicker, and more comfortable.
6. Keep Yourself Calm
This might sound simple, but it actually makes a real difference—stay calm and breathe. Your mindset plays a big role in how your body reacts during leg waxing. Slow, controlled breathing helps activate your body’s natural relaxation response, which reduces muscle tension and makes discomfort feel less intense.
Research backs this up. Reviews of clinical studies have shown that people who practice controlled breathing experience less discomfort during procedures that involve mild pain or stress. It’s not magic, but it works—and it costs nothing.
So instead of holding your breath or tensing up, try this: breathe in slowly through your nose, pause for a moment, then exhale gently through your mouth. Repeat as needed. Leg waxing won’t feel painless, but staying calm can make the experience far more manageable and under control.
7. Dress Comfortably
What you wear before and after leg waxing matters more than most people think. Skip tight jeans, fitted leggings, or synthetic fabrics that cling to the skin. Instead, go for loose, breathable clothing—cotton works best here.
After leg waxing, your skin is more sensitive and the pores are open, which makes it easier for irritation to happen. Tight clothing can trap heat and moisture, leading to redness, bumps, or even ingrown hairs. Loose, airy fabrics give your skin space to breathe and recover naturally.
According to the American Academy of Dermatology, wearing breathable materials after hair removal helps calm the skin, reduce inflammation, and support faster healing. So comfort isn’t just about feeling relaxed—it’s an important part of proper leg waxing care.
8. Arrive Early Before Your Appointment
Rushing into a leg waxing appointment is one of the quickest ways to turn a simple session into a stressful one. Try to arrive 10–15 minutes early so you have time to relax, use the restroom if needed, and talk through any skin concerns with your waxing professional.
Walking in hurried, tense, or out of breath causes your muscles to tighten—and tight muscles usually mean more discomfort during waxing. Giving yourself a few extra minutes helps your body settle down naturally, making the waxing process smoother and more comfortable.
Starting calm doesn’t just help your mindset; it actually improves the overall experience and results. So skip the last-minute rush and treat your leg waxing appointment like what it is—a small act of self-care that deserves a relaxed start.
9. Manage Your Pain
If you’re feeling nervous about the sting of leg waxing, there’s a simple prep step that can help. Taking an over-the-counter pain reliever like ibuprofen (an NSAID) about 30 to 60 minutes before your appointment can reduce inflammation and sensitivity. It won’t make waxing painless, but it can definitely make it easier to handle.
Research shows that NSAIDs help calm the body’s inflammatory response around hair follicles, which means less swelling and less discomfort during waxing. In short, this small step can take the experience from “that hurts” to “okay, I can manage this.”
Just be sure to follow the recommended dosage and avoid taking it on an empty stomach. If you have any medical conditions, it’s always smart to check with your doctor first. A little preparation goes a long way toward a smoother leg waxing experience.
10. Avoid Shaving
Shaving your legs between waxing sessions might feel like an easy fix, but it actually works against your results. When you shave, you’re only cutting the hair at the surface. This disrupts the natural hair growth cycle and leads to coarser, uneven regrowth. It may look smooth for a day or two, but long-term? Not helpful.
Waxing experts explain that shaving removes hair only at skin level, which means it starts growing back almost immediately. Over time, this can make leg hair feel rougher and reduce the smooth finish that waxing is meant to give.
If you want the real benefits of leg waxing—smooth skin that lasts longer—the rule is simple: don’t shave between waxing sessions. Stick to regular leg waxing, and your hair will gradually grow back finer, softer, and slower. That means better results and less discomfort every time.
11. Refrain from Using Lotions, Oils, or Creams
On the day of your leg waxing, the rule is simple: keep your skin clean and product-free. Avoid applying lotions, oils, or creams on your legs before the appointment. While these products make the skin feel soft, they actually create a slippery layer that stops the wax from gripping the hair properly. The result? Missed patches, repeated pulls, and unnecessary discomfort.
Skincare experts at NIVEA recommend avoiding moisturizers for at least 24 hours before waxing. Wax works best on dry, oil-free skin, allowing cleaner and more effective hair removal. Applying creams beforehand can make the process uneven and more painful.
If you want smooth results in one go, save your moisturizing routine for after waxing. Once your skin has cooled down, post-wax hydration helps soothe and nourish freshly waxed legs.
12. Avoid Caffeine and Alcohol
Thinking a cup of coffee or a glass of wine will help you relax before leg waxing? It usually does the opposite. Both caffeine and alcohol can make waxing feel more uncomfortable than it needs to be. Caffeine stimulates your nervous system, while alcohol dehydrates the skin—and both increase sensitivity.
Health experts at Novus Health explain that alcohol dilates blood vessels, increasing blood flow and making the skin more reactive. Caffeine can raise your heart rate and heighten pain perception, which makes each wax pull feel sharper.
The simple takeaway? Avoid coffee, energy drinks, and alcohol for at least 24 hours before leg waxing. Instead, drink plenty of water and keep your body relaxed. Hydrated, calm skin is less sensitive—and that means a smoother, more comfortable leg waxing experience.
So, Now Ready to Do Leg Waxing at Home?
By now, you know what it takes to prepare your legs properly and avoid the common mistakes that affect waxing results. If you’ve followed the right steps, you’re already halfway there. But preparation is only one part of the process—the actual technique matters just as much.
If you’re feeling ready to take the next step, we’ve written a detailed, step-by-step article on how to wax legs at home. It covers everything clearly, from choosing the right products to applying and removing wax safely. Before you start, take a few minutes to read that guide—it’ll help you wax confidently, avoid errors, and get smoother results at home.
Leg Waxing Aftercare Is as Important as Pre-Wax Preparation
Prepping your legs before waxing is important—but what you do after waxing matters just as much. Aftercare plays a major role in how your skin heals, how smooth your legs stay, and how long your waxing results actually last. Skipping proper aftercare can lead to irritation, redness, ingrown hairs, or dryness, even if the waxing itself was done perfectly.
That’s why we’ve written a separate, detailed article on leg waxing aftercare, where everything is explained clearly and practically. If you want calm skin, longer-lasting smoothness, and fewer post-wax issues, make sure to read that guide. A little care after waxing goes a long way.
Conclusion
Proper preparation is the key to a smooth, comfortable, and effective leg waxing experience. When you take the time to prep your skin—by managing hair length, exfoliating, staying hydrated, and avoiding common mistakes—you greatly improve both the results and how your skin feels afterward.
While some discomfort is natural, the right steps can reduce irritation, prevent ingrown hairs, and help your legs stay smooth for longer. Leg waxing doesn’t have to be stressful or painful when done correctly.
With the tips shared in this guide, you can walk into your waxing session confident, prepared, and in control—setting yourself up for better results every single time.